Home » Posts tagged 'Byzantines'
Tag Archives: Byzantines
Saga: AAR: Byzantines v Normans in “The Escort”
A little game Dan and I played a couple of weeks back at the NWGC, Stockport. Dan played a 6 point Byzantine faction, I took Normans. The Byzantines got the dice off to escort their Baggage across the table (we hadn’t seen the rules in the errata about bidding for the job of escorting – lowest points bid winning the escort duty – so we just assumed afterward that we had both bid 6 points!). The Baggage is worth a Saga dice apiece to the Byzantines, so they seemed to have the advantage in that they could field a few large blocks of troops and still get six Saga dice in each turn start.
Sorry for the poor quality of the pictures, I only had my (crappy Nokia) phone camera that day.
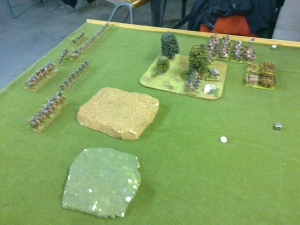
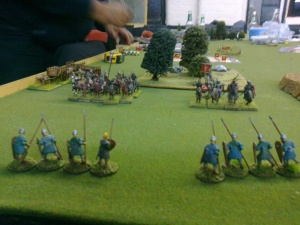
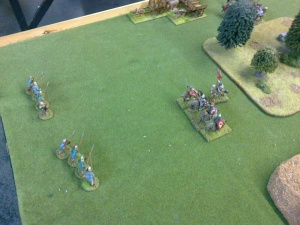
First off, setup, using the semi-random terrain rules, we ended up deployed as follows:
The Byzantines chose to go down their right flank in strength. As the baggage cannot go across uneven (hills, woods etc) terrain, they had little choice of routes.
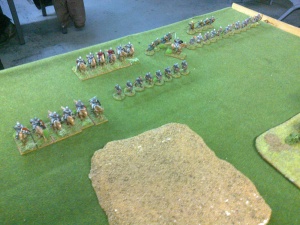
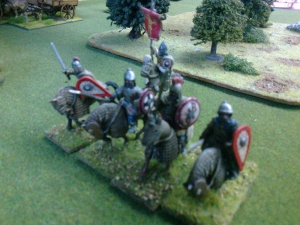
Normans kept to the centre and their left to oppose the Byzantines as best as possible. They took two blocks of 6 hearthguard cavalry, two blocks of 4 Warriors near the mounted Warlord, 8 X-bow warriors and 12 levy bowmen. All in they generated 7 Saga dice.
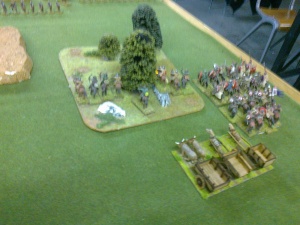
The Byzantine Cavalry needed space so off they went. The Byzantine Steppe Nomads kept in the woods to support the flanks.
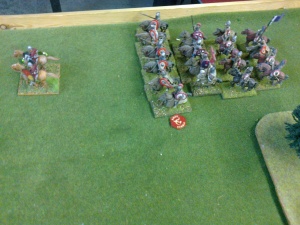
Norman bows failed to make any impact so Norman cavalry loaded up on Saga dice tried a charge into the front of the Byzantines. Some bad luck on the dice saw four dead Normans retreating.
This left the way open for the Byzantines to hit the Norman archer levy who were wiped out.
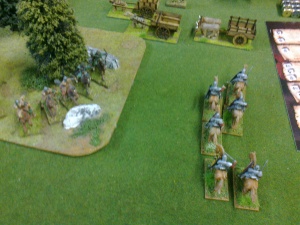
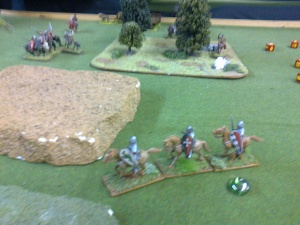
The small units of Norman spearmen look on nervously as the Byzantines spread out but kept out of crossbow range! Norman cavalry tried to go round the hills to the right. The Norman cavalry made a large move behind the enemy lines. Byzantine Steppe Norman’s create friction by venturing out of their wood and firing on the Norman cavalry trying to get round the Byzantine flank to the baggage carts. Meanwhile, the Crossbows are taken out as they try to get closer to the block of Byzantines and are hit hard and fast.
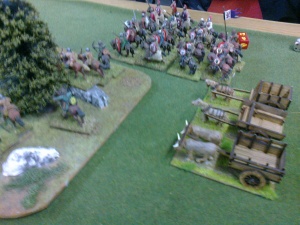
The Baggage carts were moved further away from the action and in shelter of the main block of Byzantines and their Warlord. The Norman cavalry suffered for getting to close to the wood. Steppe Nomads took their toll on them!
The Normans tried again to hit the Baggage carts. They tried to kill one but were fought off by the cart alone! Embarrassing for these Hearthguard.
The Normans, tired from their fray, are hit by the Steppe Nomads.
In the end, the Norman Warlord dies leaving just the spearmen. We shake and end the game as the result is obvious. Byzantines floored the Normans with no baggage lost and very few casualties.
The Steppe Nomads proved to be a great asset to the Byzantines. Using the wood for protection, they kept moving in and out of cover and using their bow skills to take care of enemies straying too close.
A fun little game. Not an easy mission for the attacker to win against a defensive force like Byzantines.

